How to Navigate to Kalp Bot?
Kalp Studio offers a suite of powerful tools designed to assist users in web3. Among these innovative products is Kalp Bot, a platform that enables users to create fully customizable chatbots. If you're looking to leverage the capabilities of Kalp Bot, this guide will walk you through the process of accessing it from the Kalp Studio login page.
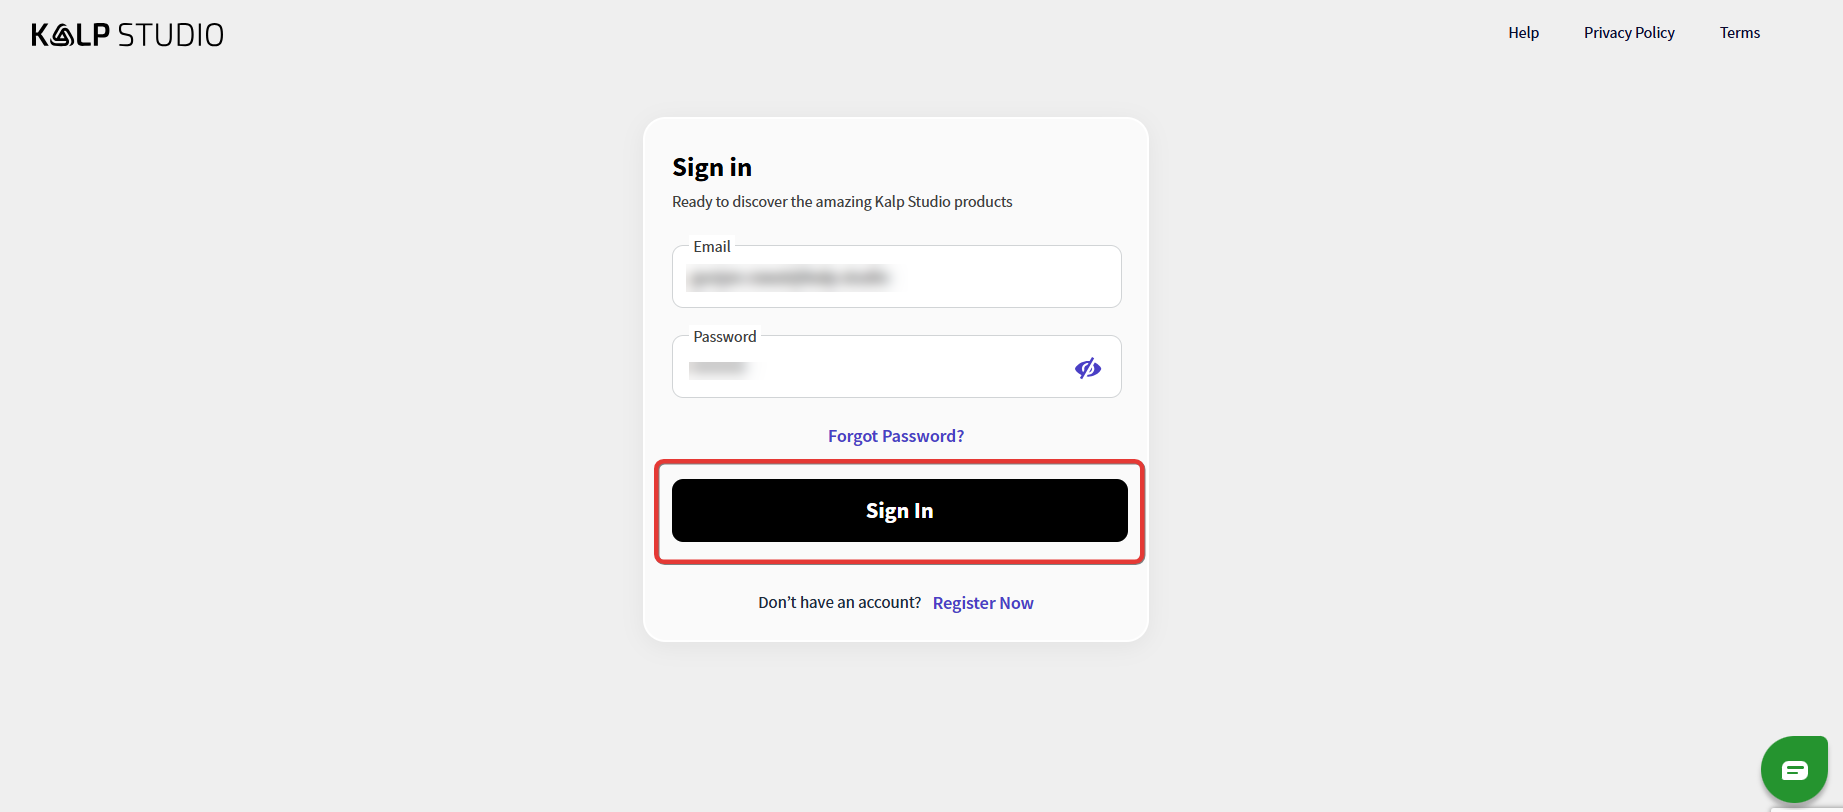
Step 1: Accessing the Kalp Studio Sign-in Page
Your first interaction with the Kalp Studio ecosystem will be its Sign in page.

You'll find two input fields: "Enter Your Email" and "Enter Password."
Step 2: Entering Your Credentials and Signing In
To proceed, you'll need to enter your Kalp Studio account details.
-
In the "Enter Your Email" field, type in the email address associated with your Kalp Studio account.
-
In the "Enter Password" field, type in your password. Note the eye icon to the right, which typically allows you to toggle password visibility.
-
Once both fields are correctly filled, the "Sign In" button below the password field will become active.
-
Click the Sign In button.
Step 3: Reaching the Kalp Studio Applications Hub
Upon successful authentication, you will be redirected to the main Applications page within Kalp Studio.
- This page, as seen in the screenshot, serves as a central hub for all the services and products you have access to.

-
You'll notice a left sidebar with options like "Personal Info," "Applications", and "Settings."
-
The main content area displays various application cards, such as "Multi-Chain Developer Portal," "Kalp DLT Developer Portal," "Build - Community and Event Platform," "KS Pay - Payment Orchestration Platform," "Referral Program," "Kalp Digital Academy," and, importantly, "Kalp Bot."
Step 4: Locating and Accessing Kalp Bot
Now, you need to find and select the Kalp Bot application.
-
Scan the application cards for the one titled "Kalp Bot".
-
The Kalp Bot card typically includes a brief description: "Kalp Bot enables users to create fully customizable chatbots powered by a custom knowledge base. Easily embed them on any website, these chatbots enhance user interactions and efficiently capture leads."
-
Within this card, you will find a purple button labeled "Go To Kalp Bot". Click this button.

Step 5: Welcome to the Kalp Bot Dashboard
You have successfully navigated to Kalp Bot!
-
The screen shows the Kalp Bot Dashboard. This is your primary interface for creating, managing, and analyzing your chatbots.
-
You'll see a welcome message, "Start Building your dashboard," and an invitation to get started with analytics by adding some data, along with a "+ Create Knowledge Base" button.
-
The left sidebar within the Kalp Bot interface provides navigation options such as "Dashboard," "Knowledge Base," "Chatbots," "Leads," "API Keys," and "My Activities."

Conclusion
Accessing Kalp Bot through the Kalp Studio platform is a simple and intuitive process. By following these five steps – from signing in to Kalp Studio, navigating the Applications hub, and finally launching Kalp Bot – you can quickly reach the dashboard where you can begin to harness the power of customizable AI chatbots for your website or project.